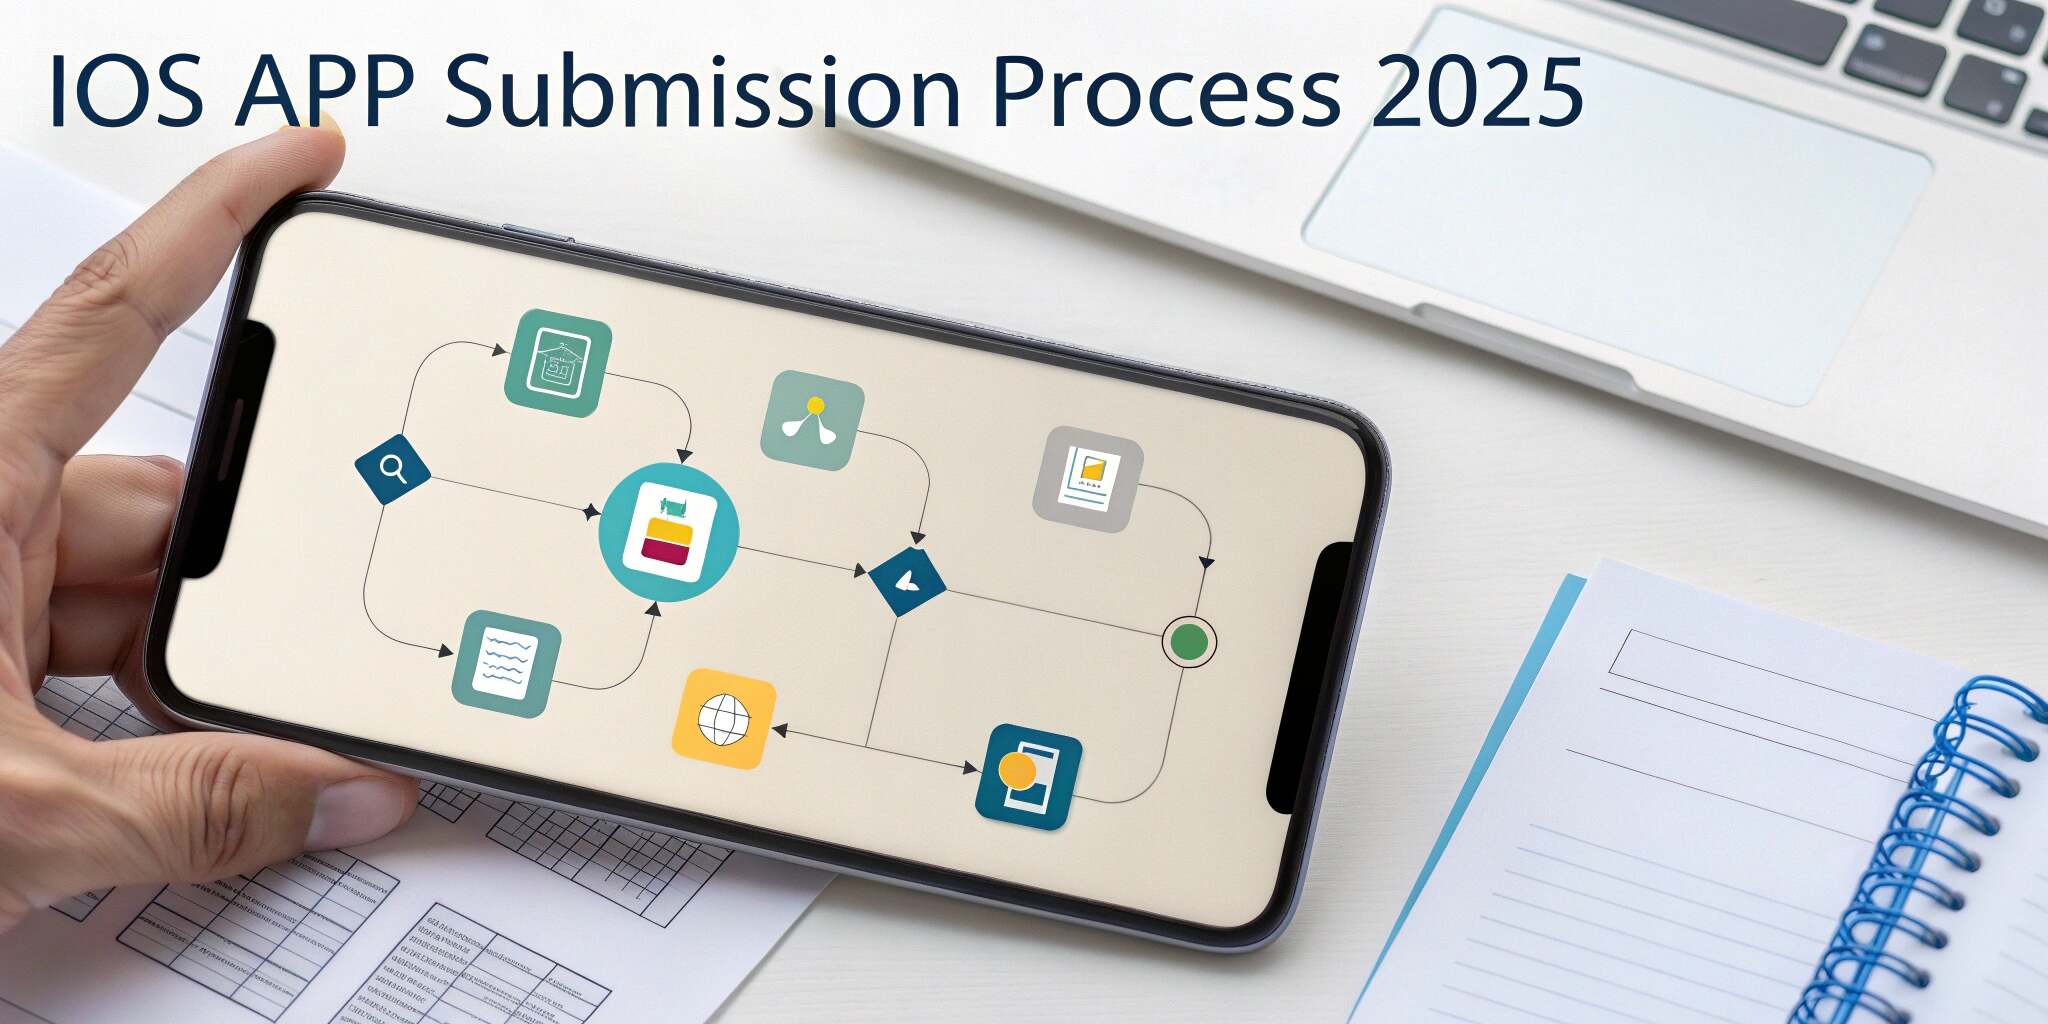
Releasing an iOS app is more than just writing code—it involves navigating Apple’s submission and review process. In 2025, Apple has refined its guidelines and tools, making it essential for developers to stay up to date. This guide outlines the iOS app submission process step-by-step to help you publish your app successfully on the App Store.
Step 1: Prepare Your App for Submission
Before you submit your app, ensure it’s fully ready. This includes:
- Testing Thoroughly: Use real devices and simulators to catch bugs.
- Compliance Check: Review Apple’s App Store Review Guidelines to avoid violations.
- Optimize Performance: Ensure smooth user experience, fast load times, and battery efficiency.
- App Privacy Practices: Define how you collect and use data in the App Privacy section of App Store Connect.
Step 2: Set Up Your App in App Store Connect
Log in to App Store Connect, Apple’s platform for managing app listings.
- Create a New App Record: Enter details like app name, bundle ID, SKU, and platforms.
- Add Metadata: Include app description, keywords, screenshots, and promotional images.
- Set Pricing and Availability: Choose countries and set your app as free or paid.
Step 3: Archive and Upload Your App Using Xcode
Once your app is production-ready:
- Archive the Build: Use Xcode’s archive tool to create a production build.
- Upload to App Store Connect: Use Xcode or the Transporter app to upload your app.
Step 4: Configure TestFlight for Beta Testing
Before final release, you can distribute your app via TestFlight to gather feedback.
- Add Internal Testers: Team members with App Store Connect access.
- Invite External Testers: Up to 10,000 users can test your app with Apple’s approval.
- Collect Feedback: Use TestFlight’s in-app feedback features.
Step 5: Submit for App Store Review
After testing, submit your app for review.
- Select the Build: Choose the build you want to submit from TestFlight or direct uploads.
- Complete App Review Information: Provide login credentials if required, a detailed description of the app’s features, and instructions for reviewers.
- Submit for Review: Click “Submit for Review” in App Store Connect.
Step 6: App Store Review Process
Apple’s review process typically takes 24-48 hours, though times may vary.
- Automated Checks: Apple scans for crashes, policy violations, and performance issues.
- Manual Review: A human reviewer tests your app for usability, security, and compliance.
- Possible Outcomes:
- Approval
- Rejection with Feedback
- Request for Additional Information
Step 7: Release Your App
Once approved:
- Manual Release: Choose the date and time to release the app.
- Automatic Release: Let Apple release the app immediately after approval.
- Soft Launch: Release in select regions first to test real-world response.
Step 8: Post-Release Monitoring
After launch, monitor:
- App Analytics: Track downloads, user engagement, and crash reports.
- User Feedback: Respond to reviews and fix reported issues.
- Update Regularly: Maintain compatibility with iOS updates and add new features.
Common Reasons for App Rejection in 2025
- Incomplete metadata or missing info for review
- Privacy policy violations
- Poor user experience or broken features
- Use of non-permitted APIs or features
- Misleading marketing materials
Conclusion
The iOS app submission process in 2025 is streamlined but still rigorous. By following these steps carefully—preparing your app, testing through TestFlight, submitting for review, and monitoring post-launch—you can successfully navigate the App Store and deliver your app to millions of users worldwide.
Launching an app isn’t just about publishing—it’s about building trust with your users and maintaining quality over time.